>>Download Free Service Record / Maintenance Check List for Reciprocating Compressors.
>>Download Free Service Record / Maintenance Check List for Rotary Screw Compressors.
___________________________________________________________________________________________
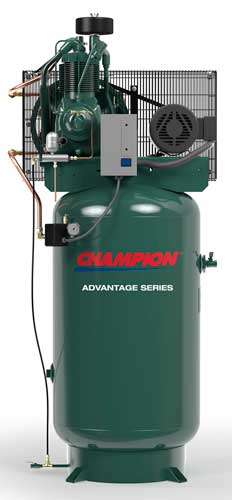
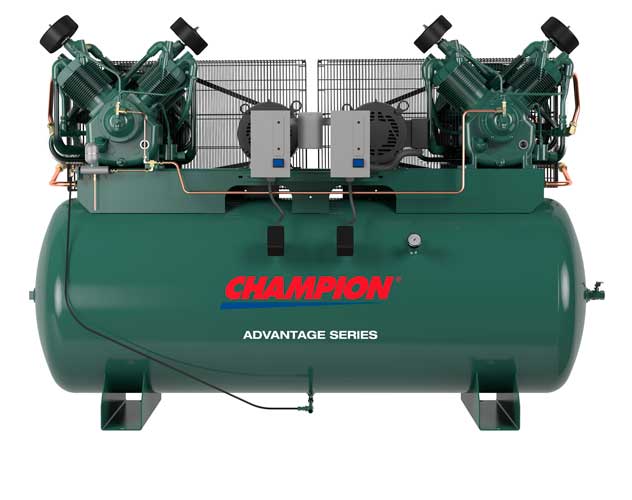
BASIC PREVENTIVE MAINTENANCE CHECK LIST FOR RECIPROCATING (PISTON) AIR COMPRESSORS:
Before performing any maintenance function on your rotary screw compressor, switch main disconnect switch to "off" position to assure no power is entering unit. "Lock Out" or "Tag Out" all sources of power. Be sure all air pressure in unit is relieved. Failure to do this may result in injury or equipment damage.
DAILY MAINTENANCE
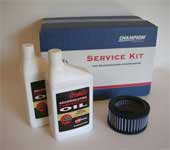
1. Check oil level of both compressor and engine if so equipped. Add quality air compressor lubricant as required.
2. Drain moisture from tank by opening tank drain valve located in bottom of tank. Do not open drain valve if tank pressure exceeds 25 PSIG.
3. Stop, Look & Listen for any unusual noise, failure to compress, overheating, vibrations or belt slippage and correct before damage of a serious nature develops.
4. Turn off compressor at the end of each day's operation. Turn off power supply.
WEEKLY MAINTENANCE
1. Clean dust and foreign matter from cylinder head, motor, fan blade, air lines, intercooler and tank.
2. Remove and clean intake air filters
WARNING:Do not exceed 15 PSIG nozzle pressure when cleaning element parts with compressed air. Do not direct compressed air against human skin. Serious injury could result. Never wash elements in fuel oil, gasoline or flammable solvent.
3. Check V-belts for tightness. The V-belts must be tight enough to transmit the necessary power to the
compressor. Adjust the V-belts as follows:
a. Remove bolts and guard to access compressor drive.
b. Loosen mounting hardware which secures motor to base. Slide motor within slots of base plate to
desired position.
c. Check the manufacturer’s specifications for correct belt tension. Apply pressure with belt tension checker to one belt at midpoint span. Make further adjustments if necessary.
d. Check the alignment of pulleys. Adjust if necessary.
e. Tighten mounting hardware to secure motor on base.
f. Re-install guard and secure with bolts.
WARNING: Never operate unit without belt guard in place. Removal will expose rotating parts which can cause injury or equipment damage.
EVERY 90 DAYS OR 500 HOURS MAINTENANCE
1. Change crankcase oil. Use type and grade oil as specified.
2. Check entire system for air leakage around fittings, connections, and gaskets, using an ultrasonic leak detector or using soap solution and brush.
3. Tighten nuts and cap-screws as required.
4. Check and clean compressor valves, replace gasket valve asssembly when worn or damaged.
CAUTION: Valves must be reinstalled in original position. Valve gaskets should be replaced each time valves are serviced.
5. Pull ring on all pressure relief valves to assure proper operation.
GENERAL MAINTENANCE NOTES:
PRESSURE RELIEF VALVE: The pressure relief valve is an automatic pop valve. Each valve is properly adjusted for the maximum pressure permitted by tank specifications and working pressure of the unit on which it is installed. If it should pop, it will be necessary to drain all the air out of the tank in order to reseat properly. Do not readjust.
TANK DRAIN VALVE: Drain valve is located at bottom of tank. Open drain valve daily to drain condensation.
Do not open drain valve if tank pressure exceeds 25 PSIG. The automatic tank drain equipped compressor requires draining manually once a week.
PRESSURE SWITCH: The pressure switch is automatic and will start compressor at low pressure and stop when the maximum pressure is reached. It is adjusted to start and stop compressor at the proper pressure for the unit on which it is installed. Do not readjust.
BELTS: Drive belts must be kept tight enough to prevent slipping. If belts slip or squeak, see V-belt maintenance in preceding section. CAUTION: If belts are too tight, overload will be put on motor and motor bearings.
COMPRESSOR VALVES: If compressor fails to pump air or seems slow in filling up tank, disconnect unit from power source, drain air tank, and remove valves and clean thoroughly, using compressed air and a soft wire brush.
After cleaning exceptional care must be taken that all parts are replaced in exactly the same position and all joints must be tight or the compressor will not function properly.
When all valves are replaced, perform a timed pump-up test and check to see that it meets factory specifications.
Valve gaskets should be replaced each time valves are removed from pump.
Bottom Line: One of the main keys to maintaining an efficient compressed air system has been and still is “Preventive Maintenance.”